Getting Started with Tiling WM [Part 2] - Rofi
Apr 19, 2021
In the part1, I’ve usedrofiinstead ofdmenu. This part will show you how to start withrofi.
1. Introduction #
- Rofi is a window switcher, application launcher and dmenu replacement.
- Features:
- Fully configurable keyboard navigation.
- Type to filer.
- Built-in modes:
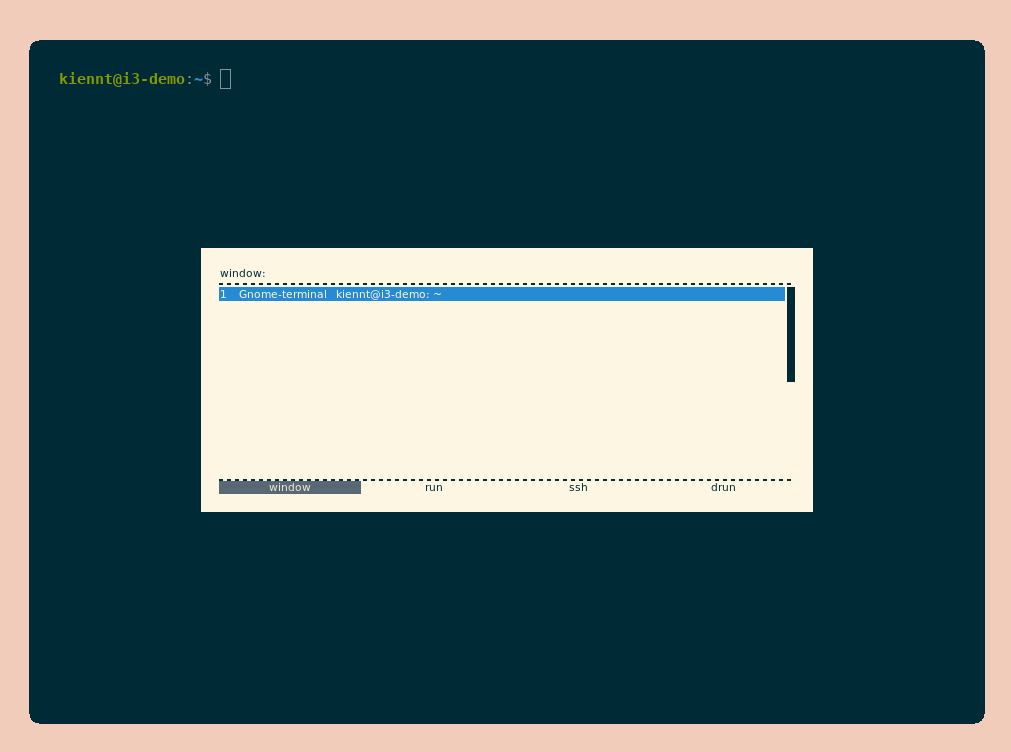
- Window switcher mode.
- Application laucher.
- Desktop file application launcher.
- SSH laucher mode.
- History-based ordering.
- …
2. Getting started #
- Installing
rofiis quite easy.
sudo apt install rofi -y
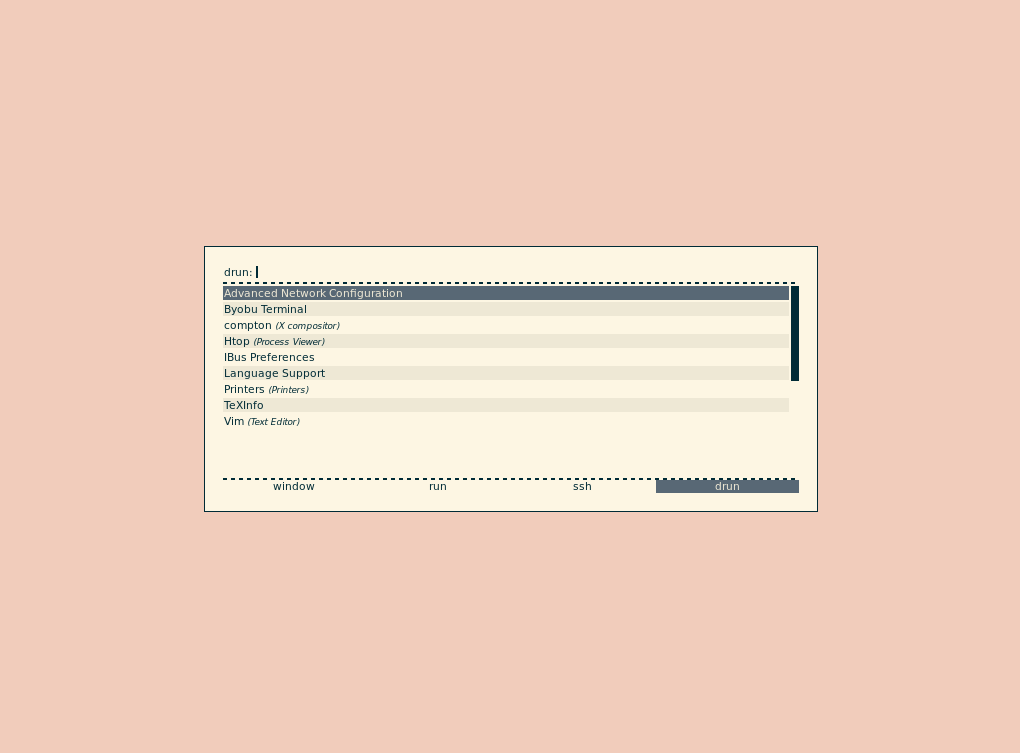
- Run it for the first time.
rofi -lines 12 -padding 18 -width 60 -location 0 -show drun -sidebar-mode -columns 3 -font 'DejaVu Sans 8'
       -show mode

       Open  rofi in a certain mode. Available modes are window, run, drun, ssh, combi. The
       special argument keys can be used to open a searchable list of supported  key  bind‐
       ings (see KEY BINDINGS)

       To show the run-dialog:

           rofi -show run

       -lines

       Maximum number of lines to show before scrolling.

           rofi -lines 25

       Default: 15

       -location

       Specify  where  the window should be located. The numbers map to the following loca‐
       tions on screen:

             1 2 3
             8 0 4
             7 6 5

       Default: 0

       -padding

       Define the inner margin of the window.

       Default: 5

       -sidebar-mode

       Open in sidebar-mode. In this mode a list of all enabled modes is shown at the  bot‐
       tom. (See -modi option) To show sidebar, use:

           rofi -show run -sidebar-mode -lines 0
- Press hot key (defined in i3 configuration file)
<Window>+dto start rofi. Use<Shift>+<left/right>to switch between mode. - More details you can found in rofi github.
3. Tweaking #
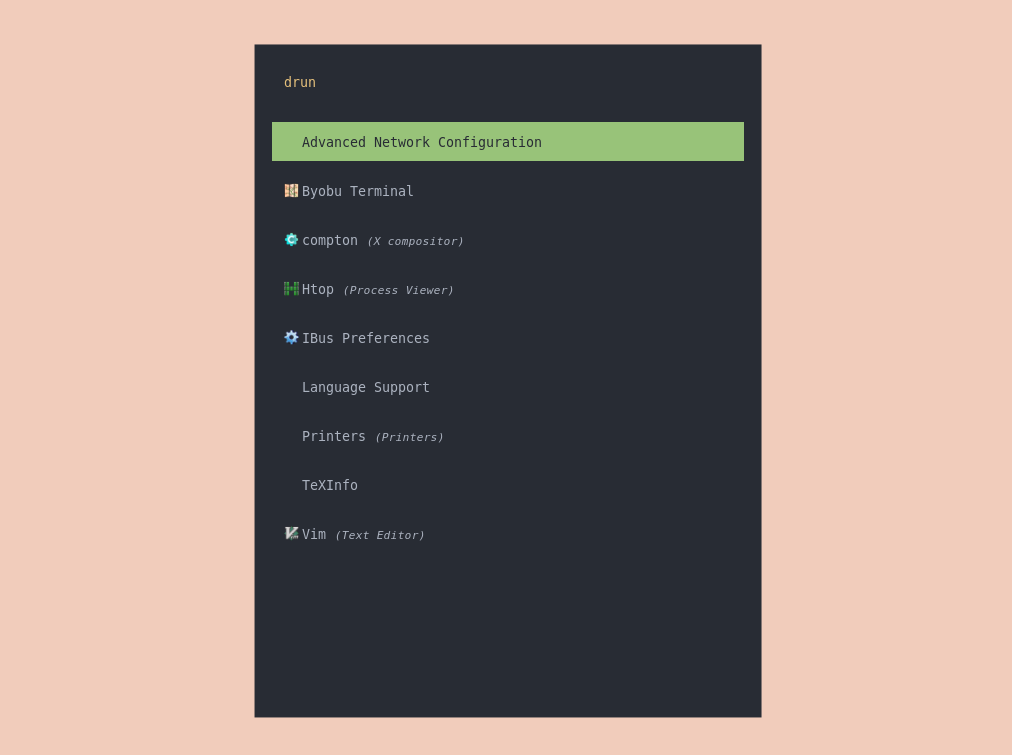
- The default setup looks quite boring. Let’s tweak a bit!
- There are currently three methods of setting configuration options:
- Local configuration. Normally, depending on XDG, in ~/.config/rofi/config. This uses the Xresources format.
- Xresources: A method of storing key values in the Xserver. See here for more information.
- Command line options: Arguments are passed to Rofi.
- We will use configuration file.
mkdir -p ~/.config/rofi/themes
touch ~/.config/rofi/themes/onedark.theme
- Copy the follow content into
~/.config/rofi/themes/onedark.theme:
configuration {
  show-icons: true;
  font: "DejaVu Sans Mono 10";
  modi: "window,run,drun";
}

* {
  background: #282c34;
  foreground: #abb2bf;
  background-color: @background;
  selected-normal-foreground: @foreground;
  selected-normal-background: #98c379;
  selected-urgent-background: #e5c07b;
  selected-urgent-foreground: @foreground;
  border: 5;
  lines: 12;
  padding: 0;
  margin: 0;
  spacing: 0;
}

window {
  width: 50%;
  transparency: "real";
}

mainbox {
  children: [inputbar, listview];
}

listview {
  columns: 1;
}

element {
  padding: 12;
  orientation: vertical;
  text-color: @foreground;
}

element selected {
  background-color: @selected-normal-background;
  text-color: @background;
}

inputbar {
  background-color: @background;
  children: [prompt, entry];
}

prompt {
  enabled: true;
  font: "DejaVu Sans Mono 10";
  padding: 12 0 0 12;
  text-color: @selected-urgent-background;
}

entry {
  padding: 12;
  text-color: @selected-urgent-background;
}
- Run it and you can see the magic!
rofi -theme ~/.config/rofi/themes/onedark.theme -show drun
- Don’t forget to update hotkey in i3 configuration file.
bindsym $mod+d exec rofi -theme ~/.config/rofi/themes/onedark.theme -show drun


