Welcome to Hugo Toigian
Toigian-Tối giản(vietnamese): Minimalist (english)Disclaimer: I’m not a front-end developer, just a guy who like tweaking stuff, so my code may not be pretty/clean. I attempt to learn Tailwind CSS, and hugo-toigian is the result.
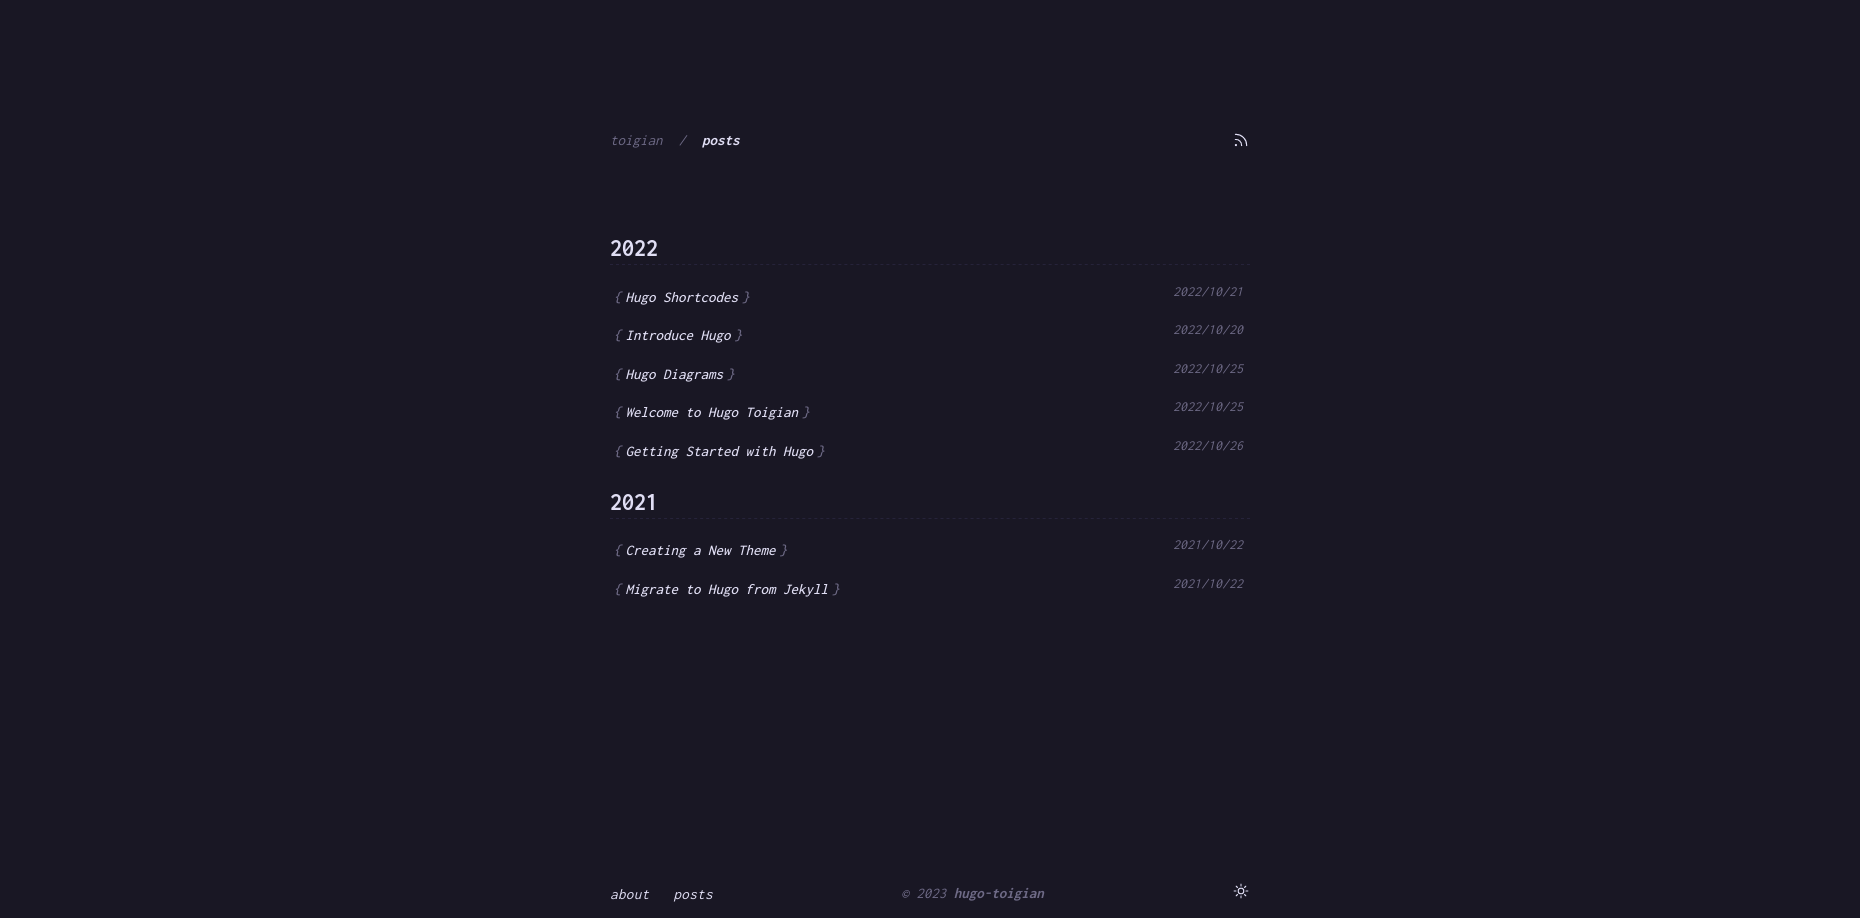
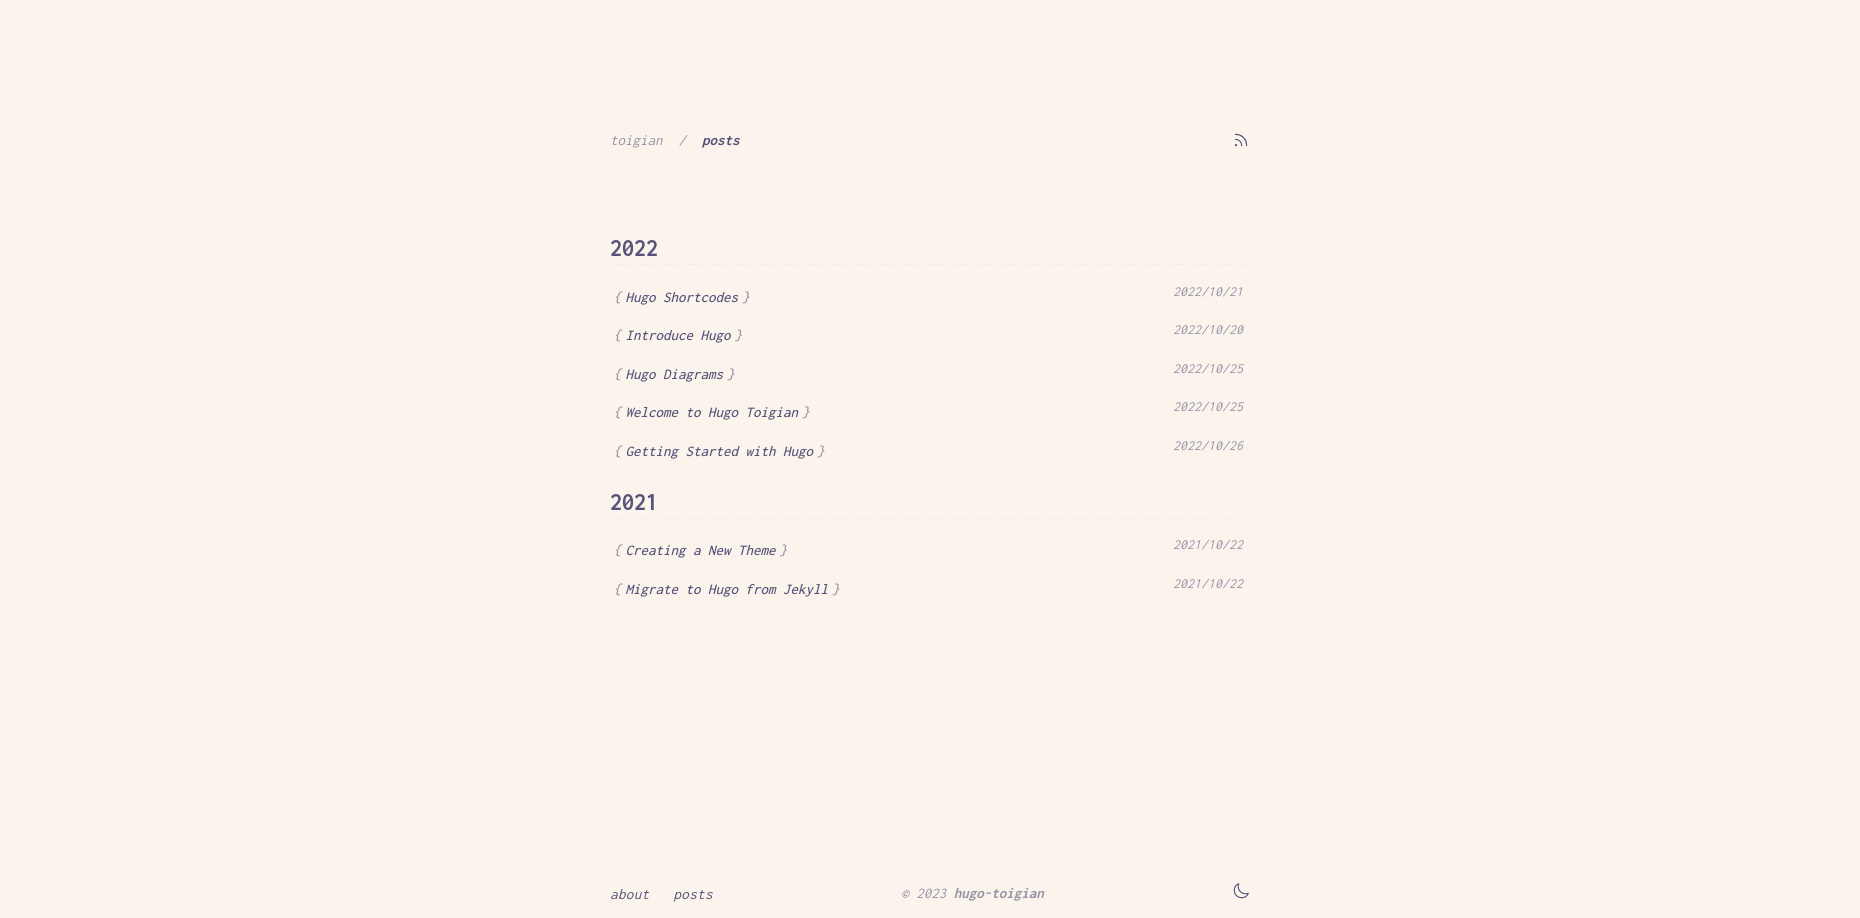
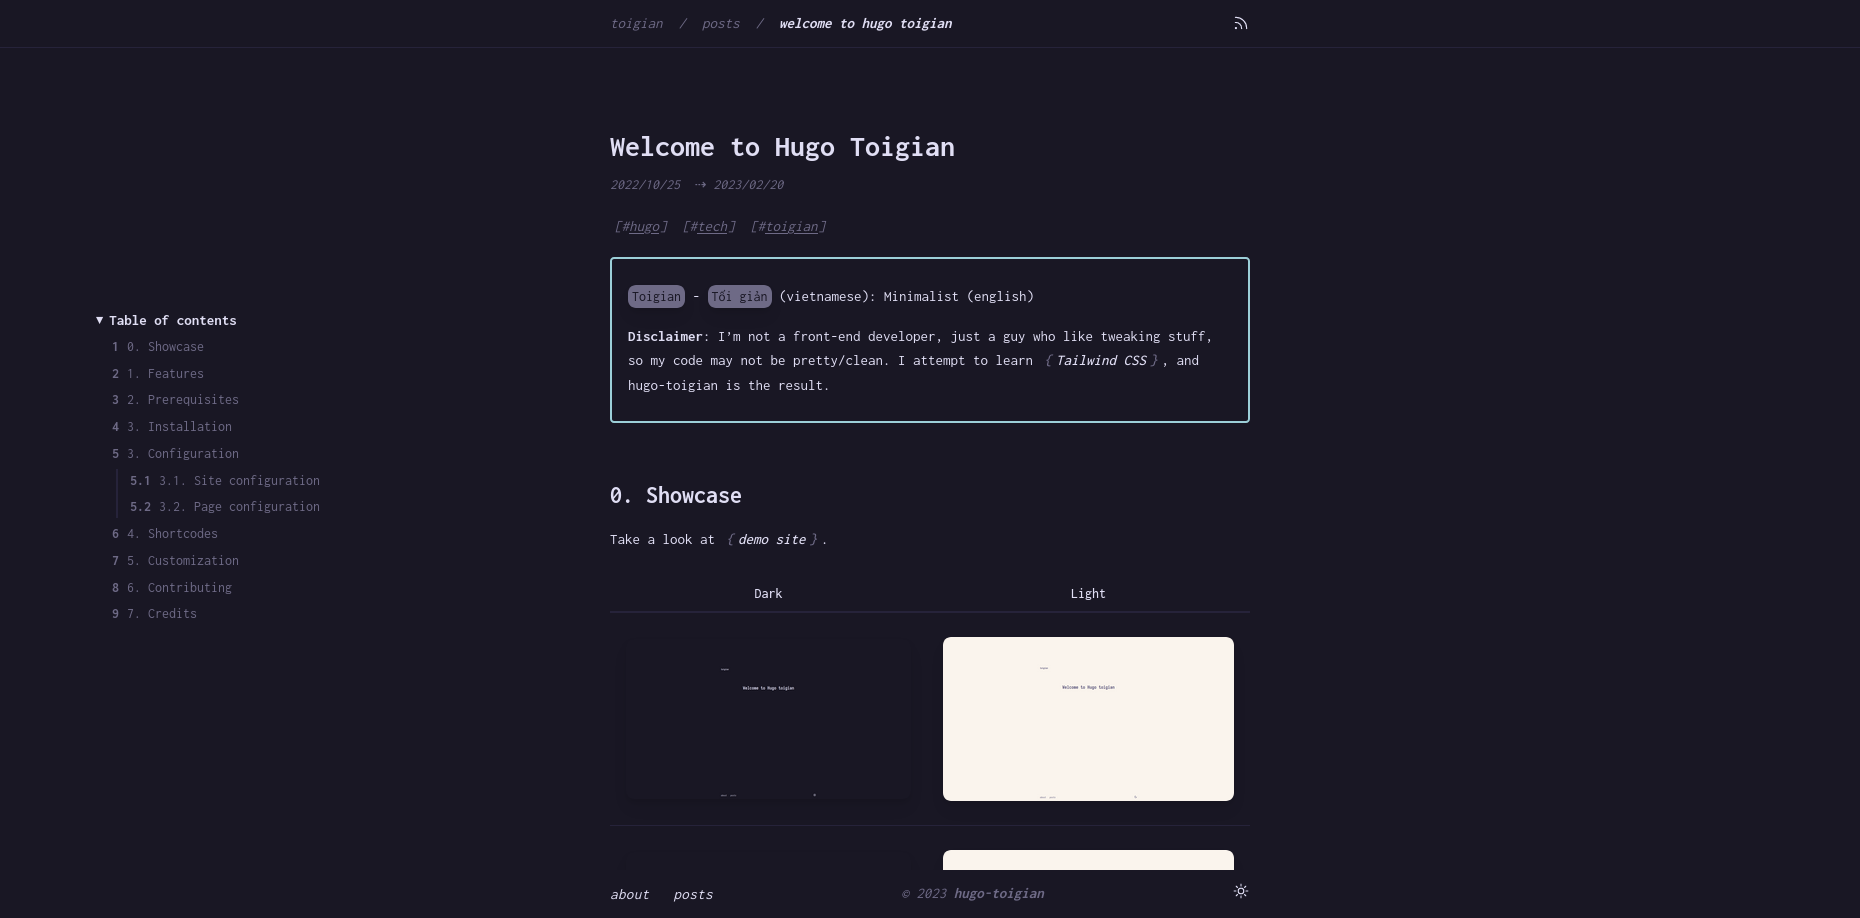
Showcase
Take a look at demo site.
| Dark | Light |
|---|---|
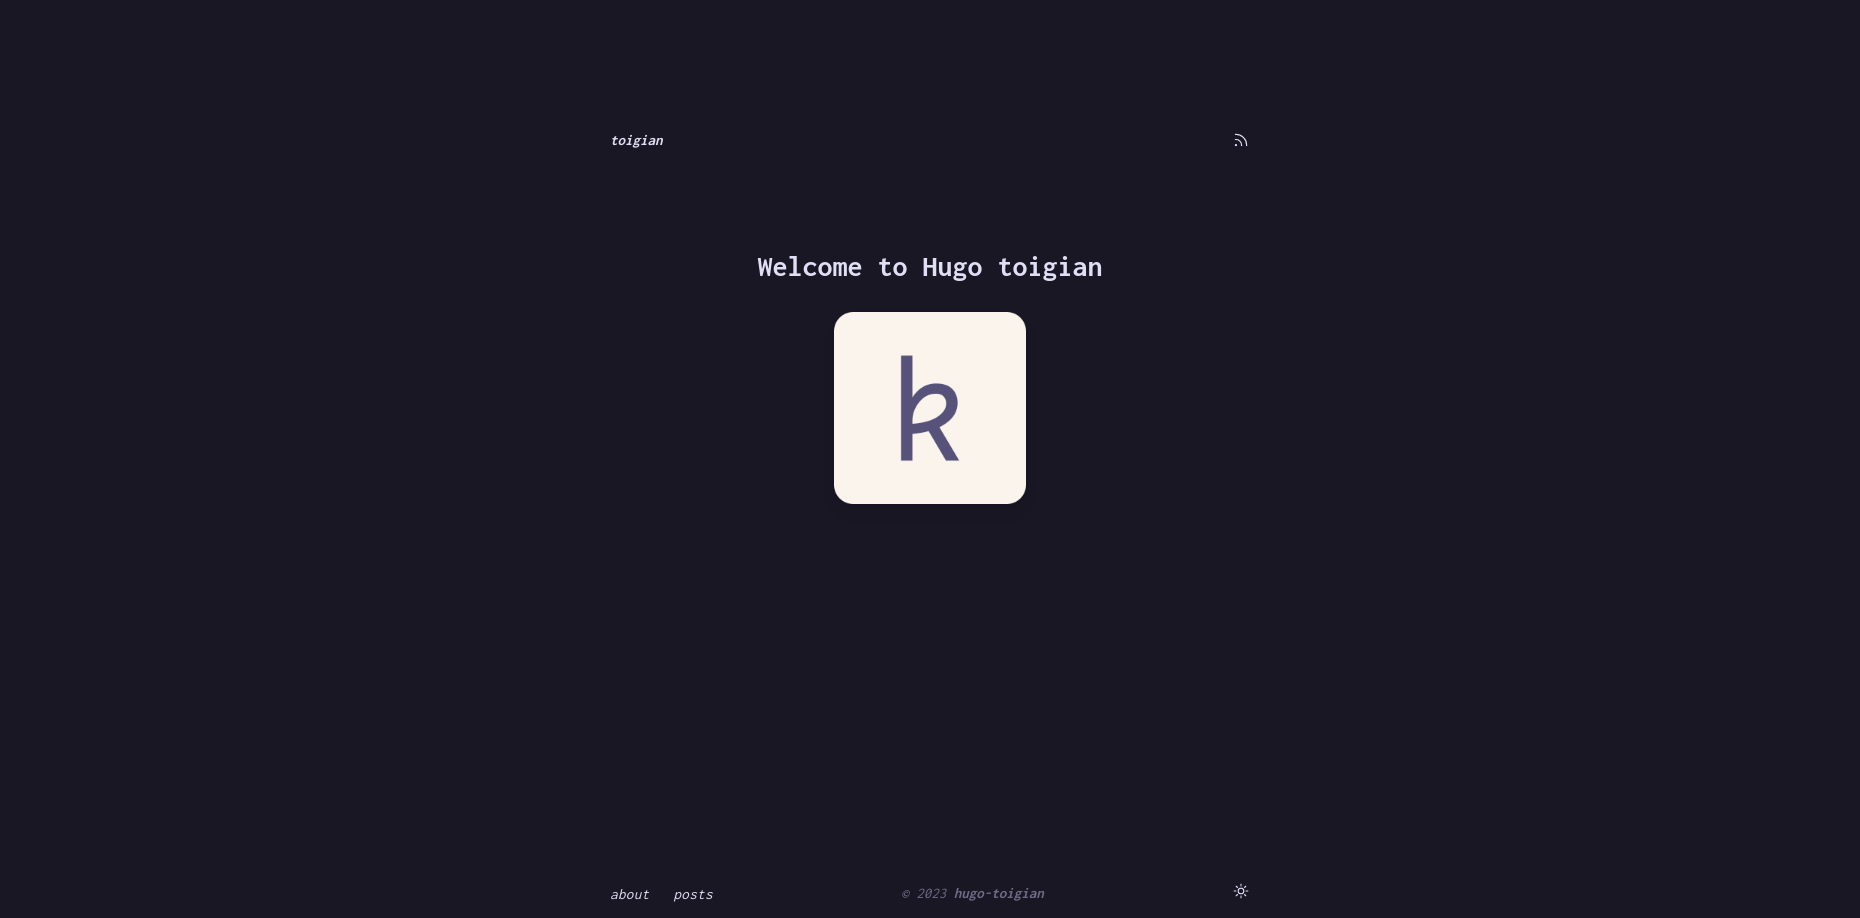 | 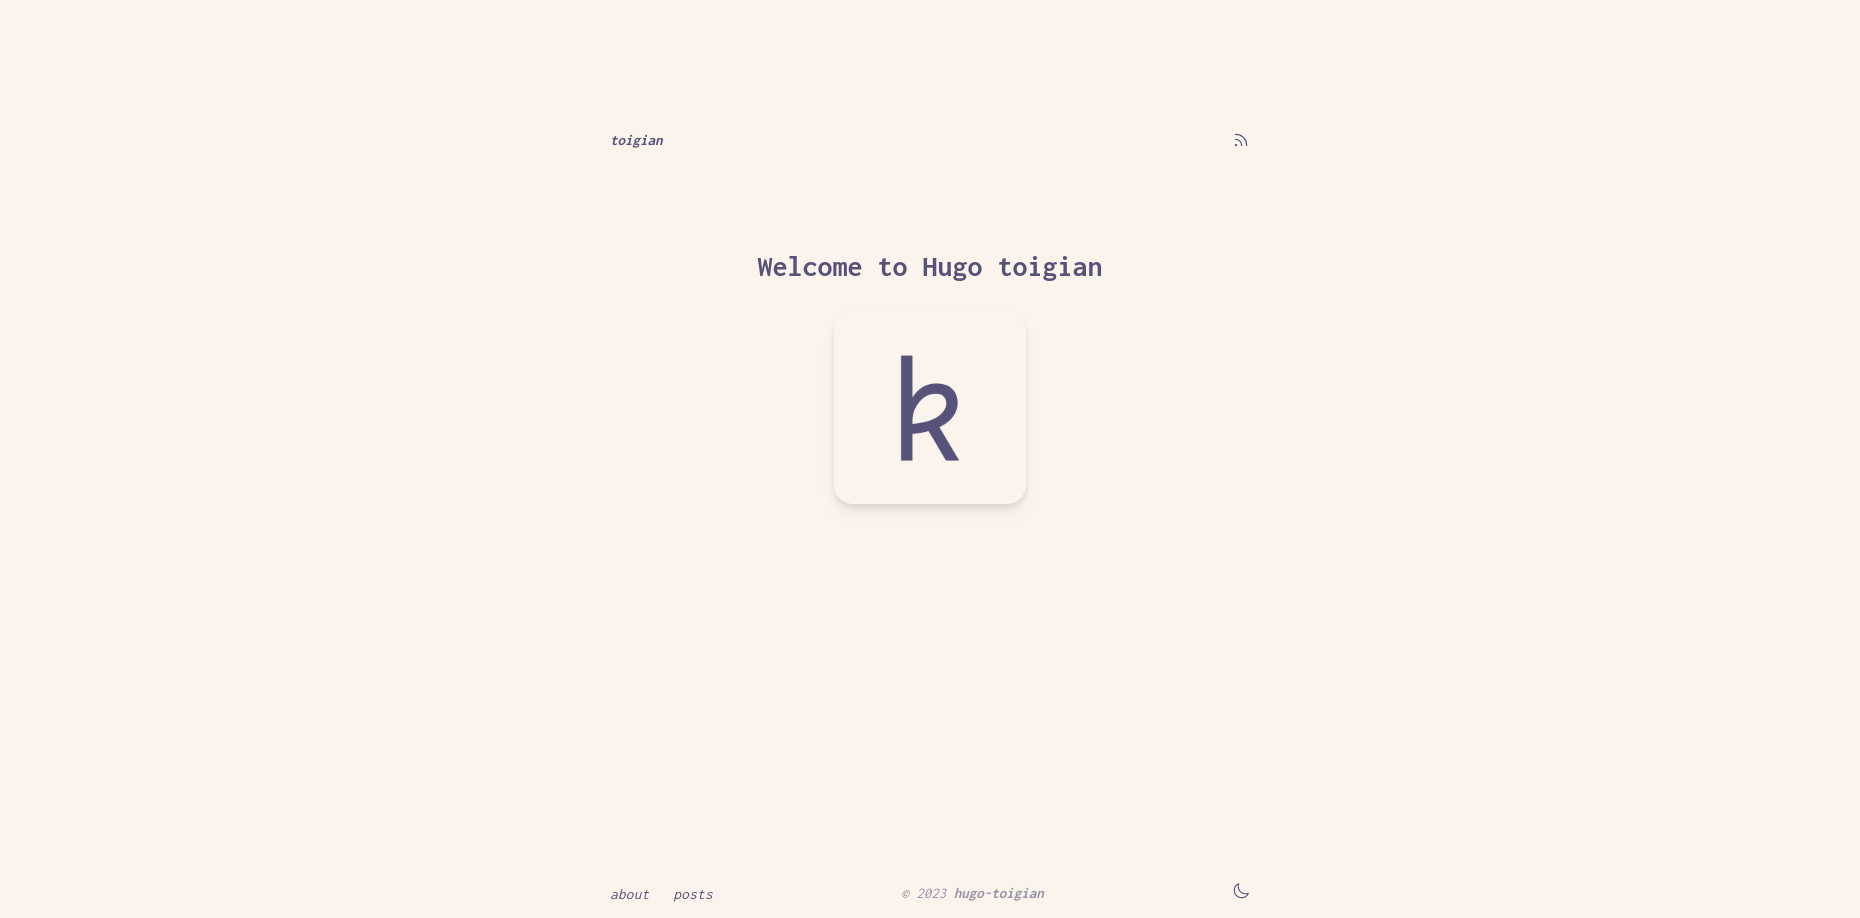 |
 |  |
 |  |
Features
- Minimalist (
tối giản) design. Highly inspired by mellow.dev. - Use the classy minimalist Rosé Pine color palette.
- Customizable.
- Support light/dark mode.
- Useful shortcodes.
- Comments support.
- Syntax highlighting: use server-side solution (Chroma, hugo built-in), I’ve added Rosé Pine styles to Chroma, so everything is the same vibe.
Prerequisites
git,npminstalled.- A minimum Hugo “extended” version of v0.93.0 and above.
snap install hugo --channel=extended
- Hugo Pipe’s PostCSS requires the
postcss-cliJavaScript package to be installed in the environment (npm install -g postcss postcss-cli) along with any PostCSS plugin(s) used (e.g.,npm install -g autoprefixer). If you are using the Hugo Snap package, PostCSS and plugin(s) need to be installed locally within your Hugo site directory, e.g.,npm install postcss-cliwithout the -g flag.
Installation
- Go to root directory of your Hugo website, or create a new site with:
hugo new site hugo-example-site
cd hugo-example-site
git init
- Add the theme.
git submodule add https://github.com/ntk148v/hugo-toigian.git themes/hugo-toigian
- Install Nodejs modules.
cd themes/hugo-toigian
npm install
- Finally, update theme in your configuration
config.tomlfile in the root directory of your Hugo website.
theme = "hugo-toigian"
- Run server to see a live preview of it.
hugo server -DF --disableFastRender
- Build static pages
hugo --environment production --minify
Configuration
Site configuration
There are a few configuration options that you can add to config.toml file.
baseURL = 'http://example.org/'
languageCode = 'en-us'
title = 'Toigian'
theme = "hugo-toigian"
themesDir = "../.."
# (Optional) If you provide a Disqus shortname, comments will be enabled on
# all pages.
# disqusShortname = "my-site"

[params]
# (Optional, default true): Controls table of contents visibility on right side of pages.
# Start and end levels can be controlled with markup.tableOfContents setting.
toc = true
# (Optional, default true) Enables comments template on pages
# By default partials/docs/comments.html includes Disqus template
# See https://gohugo.io/content-management/comments/#configure-disqus
# Can be overwritten by same param in page frontmatter
comments = true

[params.author]
name = "Kien Nguyen-Tuan"
email = "kiennt2609@gmail.com"

[markup]
  defaultMarkdownHandler = "goldmark"
  # By default, Goldmark trims unsafe outputs which might prevent some shortcodes from rendering.
  # It is recommended to set markup.goldmark.renderer.unsafe=true if you encounter problems.
  [markup.goldmark]
    [markup.goldmark.renderer]
      unsafe = true  # Enable user to embed HTML snippets in Markdown content.
  [markup.highlight]
    codeFences = true
    guessSyntax = true
    lineNos = false
    noClasses = false
    tabWidth = 4
  [markup.tableOfContents]
    startLevel = 2
    endLevel = 4
    ordered = true

# The left side navbar at the top
[menu]
  [[menu.nav]]
  name = "About"
  url = "/about"
  weight = 2

  [[menu.nav]]
  name = "Posts"
  url = "/posts"
  weight = 3
Page configuration
You can specify additional params in the front matter of individual pages.
# Your posts tags

tags = []

# If you have enabled comments for the site, you can disable it for specific pages

comment = true
Shortcodes
Check out shortcodes.
Customization
- Partials: There are layout partials available for you to easily override components of the theme in
layouts/partials/.
| Empty partial | Placement | Usage |
|---|---|---|
layouts/partials/custom/head.html | Before closing <head> tag | Add custom css/js |
layouts/partials/custom/content-before.html | Before page content | |
layouts/partials/custom/content-after.html | After page content | |
layouts/partials/font.html | Import custom fonts |
- Extra customization:
| File | Description |
|---|---|
assets/css/custom.css | Customize or override css styles |
For example, you don’t like the chosen font (Inconsolata), and you want to use your own choice, follow these steps:
- Create
layouts/partials/font.htmlto import your fonts:
<!-- load Inter and Overpass fonts --> <link rel="preconnect" href="https://fonts.googleapis.com" /> <link rel="preconnect" href="https://fonts.gstatic.com" crossorigin /> <link href="https://fonts.googleapis.com/css2?family=Inter:wght@400;500;700&family=Overpass:wght@400;500&display=swap" rel="stylesheet" />- Create
assets/css/custom.css:
// change the default mono font to Overpass :root { --font-mono: "Overpass"; --font-serif: "Inter"; }- Create
Contributing
As you already known, I’m not front-end developer. Therefore, if you find anything wrong or want to make improvement, don’t hesitate to open an issue/pull request.
Primary goals are:
- Keep it simple.
- Avoid using JS if it can be solved by CSS.
Feel free to open issues if you find missing configuration or customization options.